
How do you install aisle containment?
How to Install Aisle Containment
Aisle containment is one of the most effective upgrades you can make in a mission-critical data center. By physically separating hot exhaust air from cold supply air, containment systems improve cooling efficiency, stabilize temperatures, and reduce energy costs. In fact, properly implemented containment can reduce cooling energy consumption by as much as 10 to 35 percent.
For organizations operating high-performance or mission-critical facilities, proper installation is just as important as system design. This guide walks through the step-by-step process of installing aisle containment and highlights best practices to ensure long-term performance.
Understanding Aisle Containment Basics
Before installation begins, it’s important to understand what aisle containment does. In a typical hot aisle/cold aisle layout, server racks are arranged so that cold air is delivered to the front of equipment and hot air is exhausted out the back. Without containment, these air streams mix, reducing cooling efficiency and increasing energy usage.
Aisle containment solves this by enclosing either:
- Cold aisles to keep supply air contained
- Hot aisles to capture and return exhaust air to cooling systems
Both approaches use physical barriers such as سقeiling panels, doors, and sidewalls to create a sealed environment.
Step 1: Site Assessment and Planning
Every successful installation starts with a detailed site assessment. This includes:
- Measuring aisle width, length, and rack height
- Confirming consistent rack alignment
- Identifying obstructions such as cable trays, sprinklers, or lighting
- Recording baseline temperature and airflow data
Proper planning is critical because most project delays stem from incomplete surveys or overlooked constraints.
You should also confirm that your racks follow a consistent hot aisle/cold aisle configuration. Containment will not function effectively without this foundational layout.
Step 2: Prepare the Environment
Before installing any containment hardware, address airflow management fundamentals:
- Install blanking panels in unused rack spaces
- Seal gaps in raised floor cutouts
- Replace damaged floor tiles
- Ensure racks are aligned evenly across the aisle
Containment is only as effective as the weakest point in the airflow system. Even small gaps can allow hot and cold air to mix, reducing efficiency.
Step 3: Install the Support Structure
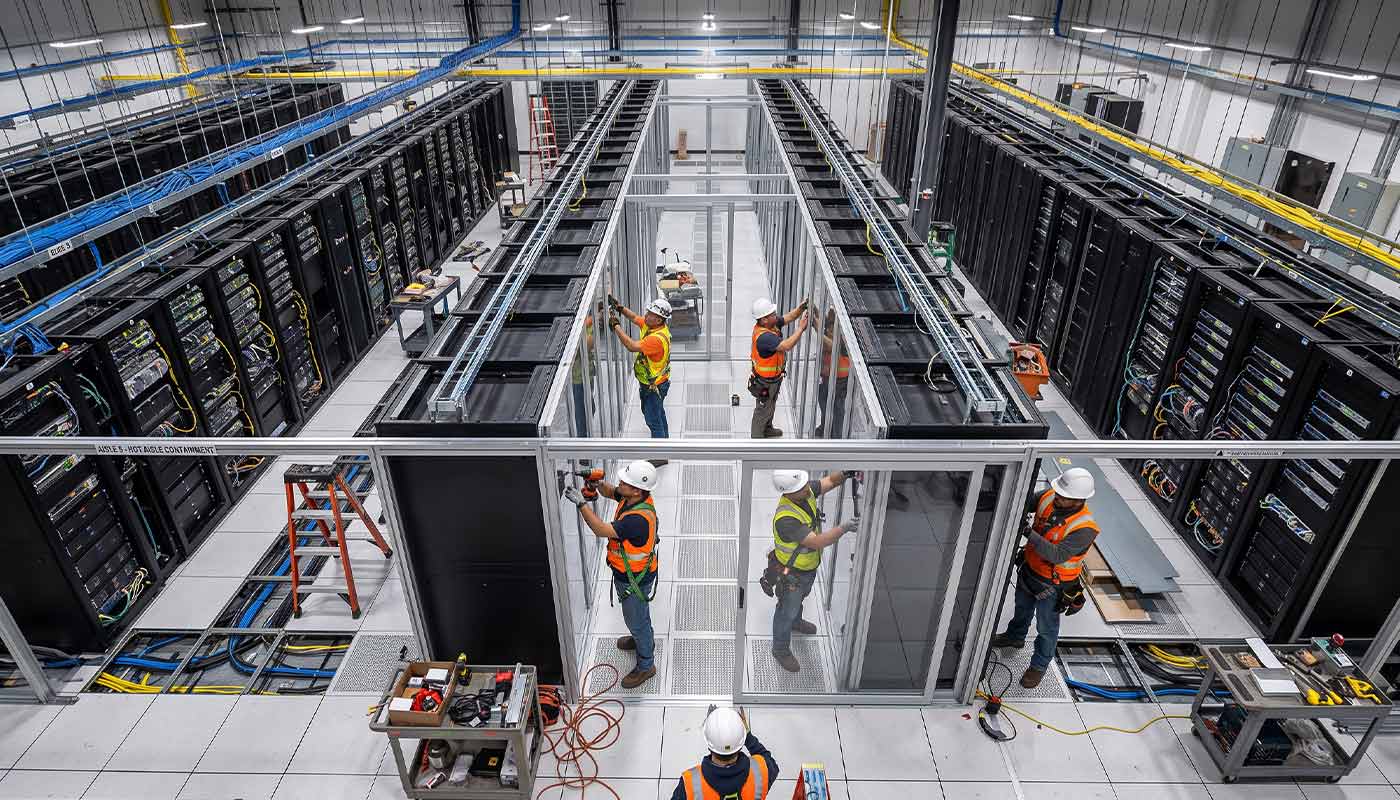
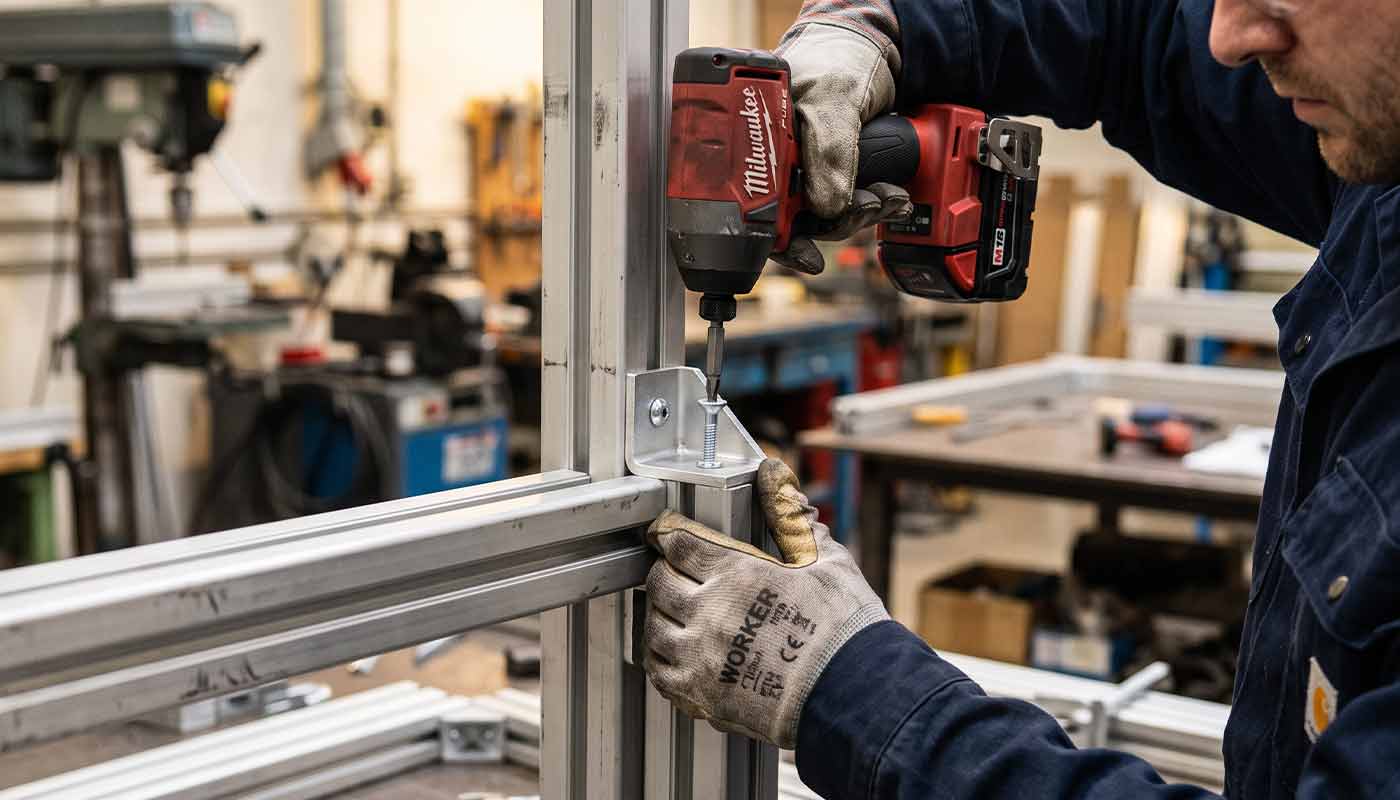
The installation process typically begins with mounting the structural framework:
- Attach header rails or support brackets to the tops of racks
- Install guide rails for doors or curtain systems
- Ensure all components are level and properly aligned
This framework supports the roof panels and doors that will enclose the aisle. Most of this work occurs above the racks and does not disrupt live IT equipment.
Step 4: Install Ceiling Panels or Roof System
Next, install the overhead containment system:
- Place ceiling panels into the support frame
- Ensure tight fitting panels to prevent air leakage
- Accommodate variations in rack height using blanking panels if needed
A properly sealed ceiling is critical. Even small openings can compromise the containment system and reduce cooling effectiveness.
Step 5: Install End-of-Aisle Doors or Curtains
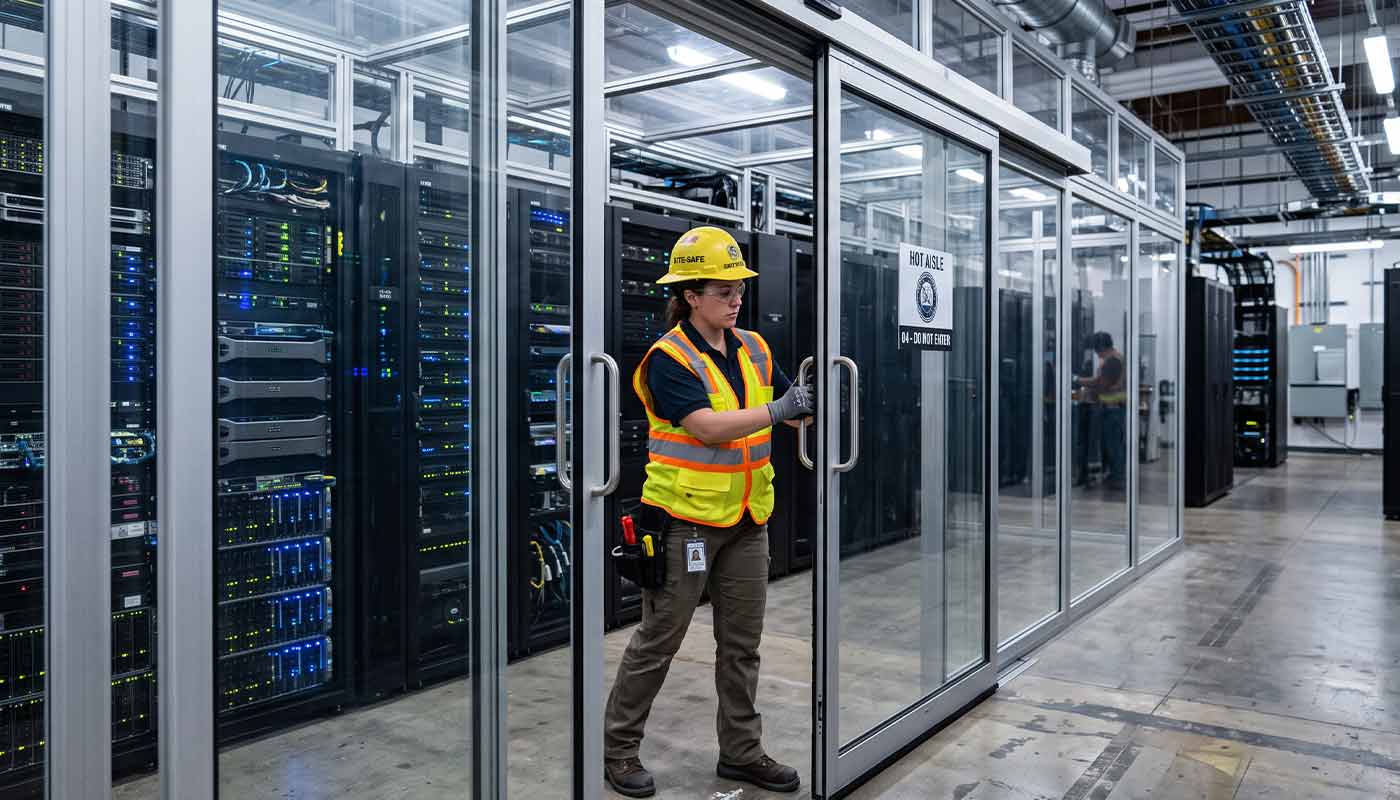
Doors or curtains are installed at both ends of the aisle to complete the enclosure:
- Sliding or hinged doors are common in rigid systems
- Strip curtains may be used in flexible or retrofit solutions
- Ensure doors are self-closing for consistent airflow control
These barriers prevent air from escaping the contained space and are essential for maintaining pressure and airflow direction.
Step 6: Seal Gaps and Optimize Airflow
This is one of the most important steps in the entire installation process:
- Install blanking panels in empty rack units
- Seal gaps between racks and side panels
- Add air skirts or barriers beneath cabinets if needed
- Ensure full overlap of curtains or tight door seals
Even minor air leaks can significantly reduce system performance. Proper sealing is what separates a high-performing installation from an average one.
Step 7: Final Adjustments and Testing
Once installation is complete:
- Measure post-install temperatures and airflow
- Compare against baseline data
- Adjust perforated floor tiles or airflow delivery as needed
- Install temperature and humidity sensors for monitoring
Containment systems should create consistent temperatures across rack heights and eliminate hot spots. Ongoing monitoring ensures optimal performance over time.
Best Practices for Mission-Critical Installations
For mission-critical environments, consider these additional guidelines:
- Coordinate installation with live operations to avoid downtime
- Ensure compliance with fire suppression and safety systems
- Use high-quality materials such as polycarbonate panels or HPL surfaces
- Plan for scalability as rack density increases
Containment systems are often installed without shutting down equipment, making them ideal for retrofit projects in active facilities.
Conclusion
Installing aisle containment is a high-impact upgrade that improves cooling efficiency, reduces energy costs, and enhances reliability in mission-critical environments. While the process is straightforward, success depends on proper planning, precise installation, and attention to detail—especially when sealing airflow paths.
When executed correctly, aisle containment transforms your data center into a more efficient, predictable, and scalable operation.
FAQ: Aisle Containment Installation
What is aisle containment?
Aisle containment is a system of physical barriers that separates hot and cold air in a data center to improve cooling efficiency and prevent airflow mixing.
Is hot aisle or cold aisle containment better?
Both are effective. Cold aisle containment is easier to retrofit, while hot aisle containment often delivers higher efficiency in high-density environments.
Can aisle containment be installed in an existing data center?
Yes. Most systems are modular and can be installed around existing equipment without shutting down operations.
How long does installation take?
Most installations can be completed in a few days, depending on the size and complexity of the environment.
Do I need to shut down my data center during installation?
No. Most containment systems are installed above and around racks, allowing equipment to remain operational.
What are the main components of an aisle containment system?
Typical components include ceiling panels, end-of-aisle doors or curtains, side panels, and airflow sealing elements such as blanking panels.
How much energy can aisle containment save?
Containment systems can reduce cooling energy usage by 10 to 35 percent, depending on the environment and implementation.
What are common mistakes during installation?
The most common issues include poor sealing, misaligned racks, and failing to address airflow gaps before installing containment.
For expert design and installation support, Mission Critical Installation provides tailored aisle containment solutions built for performance, efficiency, and reliability.